Regularly cleaning your mechanical keyboard keycaps improves appearance, extends keycap life, and enhances typing comfort. Simple steps like soaking, scrubbing, and drying keep keycaps clean and looking new.
Keeping your mechanical keyboard clean, especially the keycaps, can make a huge difference in how it looks and feels. Over time, keycaps gather dust, dirt, and oils from your fingers. Cleaning them regularly keeps your keyboard looking fresh, improves typing comfort, and even helps the keycaps last longer.
This guide walks you through the best ways to clean your mechanical keyboard keycaps simply and effectively.
Why It’s Important to Clean Your Mechanical Keyboard Keycaps?
There are several reasons why you should make keycap cleaning a habit:
- Appearance: A clean keyboard looks much better than one covered in dust and fingerprints.
- Typing Comfort: Clean keycaps feel smoother and more comfortable to type on.
- Longer Keycap Life: Keeping keycaps clean helps prevent wear and tear, so they last longer.
What You’ll Need to Clean Your Keycaps?
Here’s a list of basic items to make the cleaning process easier:
- Keycap Puller: This tool helps safely remove keycaps from the keyboard without damaging them.
- Warm Water: Essential for loosening dirt and grime.
- Mild Dish Soap: Gentle enough to clean keycaps without causing any damage.
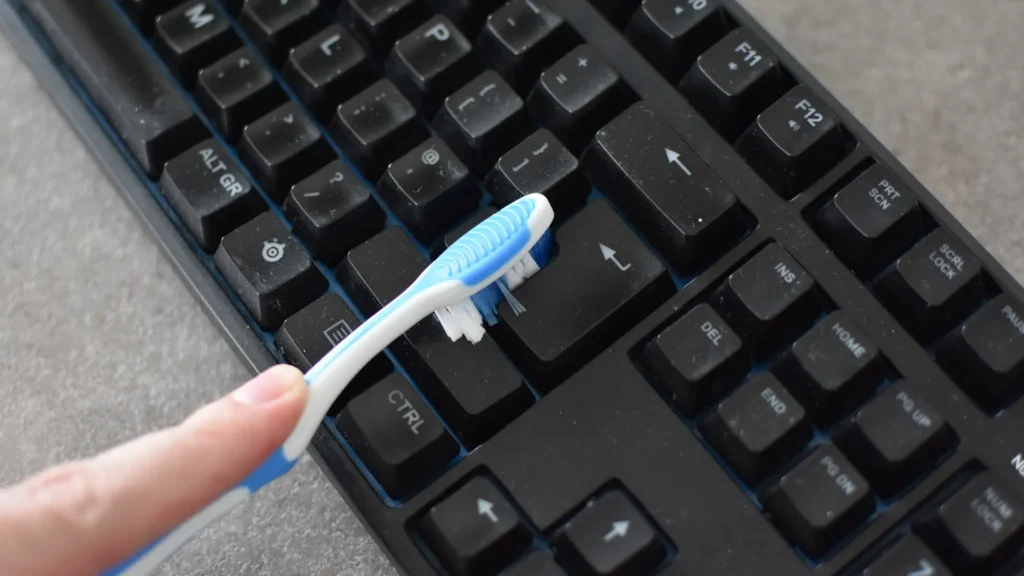
- Soft Brush: Useful for scrubbing the keycaps clean.
- Microfiber Cloth: Ideal for drying and polishing keycaps after cleaning.
Optional items include isopropyl alcohol (to tackle stubborn stains) and a soft toothbrush for extra scrubbing power in hard-to-reach areas.
Step-by-Step Guide to Clean Your Mechanical Keyboard Keycaps:

Step 1: Remove the Keycaps
- Turn Off and Unplug Your Keyboard: For safety, always turn off and unplug the keyboard before you start cleaning.
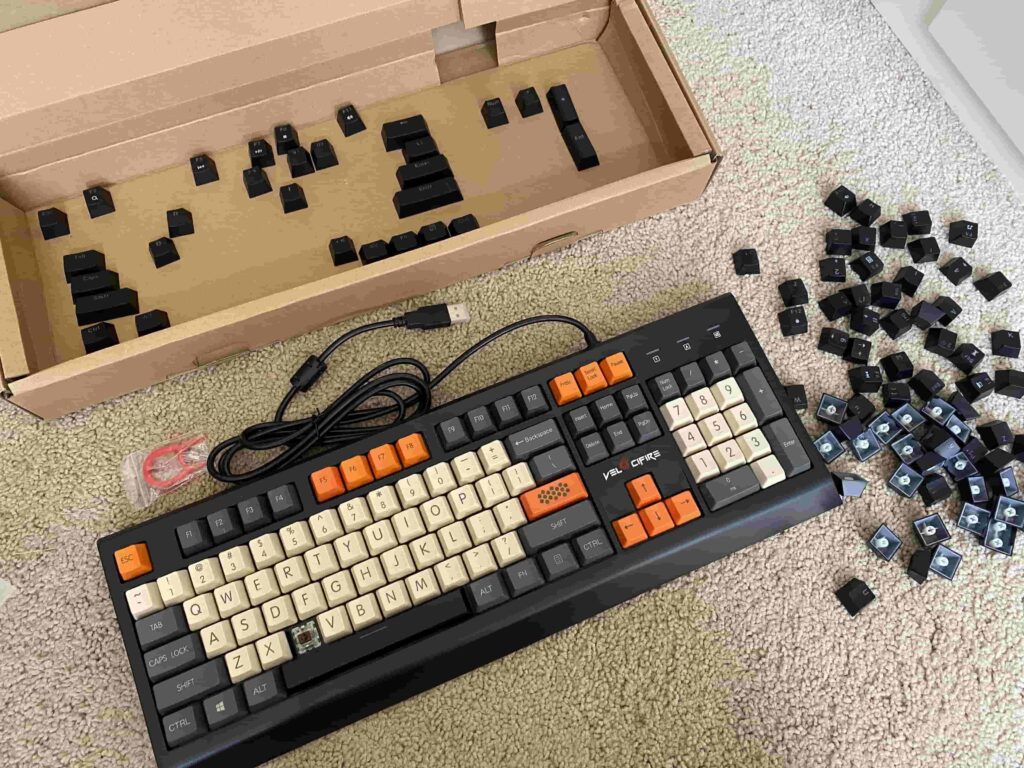
- Use a Keycap Puller: Slide the keycap puller under each keycap, then gently pull up to remove it. Avoid pulling too hard to prevent damage.
Step 2: Soak the Keycaps in Soapy Water
- Prepare a Warm Soapy Solution: Fill a bowl with warm water and add a few drops of mild dish soap. This helps loosen oils and dirt.
- Soak Keycaps for 20-30 Minutes: Place the keycaps in the soapy solution and let them soak. This makes scrubbing easier and more effective.
Step 3: Gently Scrub Each Keycap
- Use a Soft Brush or Old Toothbrush: Gently scrub each keycap to remove dirt and oils, paying special attention to any edges where grime tends to collect.
- Rinse Thoroughly: After scrubbing, rinse each keycap under running water to wash off any remaining soap.
Step 4: Dry the Keycaps
- Pat Dry with a Microfiber Cloth: Gently pat each keycap with a microfiber cloth to remove excess water.
- Allow Air Drying: Place the keycaps on a towel and let them air dry completely for a few hours. Leaving them overnight ensures they’re thoroughly dry.
Step 5: Reattach the Keycaps
- Snap Each Keycap Back into Place: Once dry, reattach each keycap to its respective switch by pressing down gently.
- Test the Keyboard: Plug your keyboard back in, test each key, and make sure they’re all secure and working.
How to Clean Keycaps?
Cleaning keycaps is a simple but essential task to keep your keyboard looking and functioning like new. Start by gently removing the keycaps using a keycap puller. Soak them in warm, soapy water for 15–30 minutes to loosen grime and debris. Use a soft brush to scrub off any remaining dirt, then rinse thoroughly. Let them air-dry completely before reattaching. Regular cleaning prevents buildup, improves hygiene, and enhances the typing experience by maintaining the keys’ texture and responsiveness.
Handling Stubborn Stains on Keycaps:
If you find that some keycaps have tough stains that won’t come off with soap and water, try these methods:
- Isopropyl Alcohol: Dampen a small cloth with a bit of isopropyl alcohol and rub the stain. Be careful not to use too much to avoid damaging the plastic.
- Baking Soda Paste: Mix baking soda with water to make a paste, apply it to the stain, and let it sit for a few minutes. Scrub and rinse as usual.
Also Read: Can You Use Apple Keyboard For Gaming – Complete Guide!
How Often Should You Clean Your Keycaps?
The frequency depends on how often you use your keyboard and your environment. Here are some guidelines:
- Every 1-3 Months: For general use, clean your keycaps every few months.
- Monthly for Heavy Use: If you use your keyboard daily or in a dusty environment, monthly cleaning may be best.
- Quick Weekly Wipes: Wiping down the keycaps weekly with a damp cloth can prevent dust and oils from building up.
Tips to Keep Keycaps Clean for Longer:
To keep your keycaps cleaner for longer and make future cleaning easier, consider these habits:
- Wash Your Hands Before Typing: This simple step keeps oils and dirt off your keyboard.
- Avoid Eating or Drinking at Your Desk: Crumbs and spills can be hard to clean, so it’s best to avoid food and drinks around your keyboard.
- Use a Keyboard Cover: When not in use, a cover can protect your keyboard from dust and debris.
Signs It Might Be Time to Replace Your Keycaps:

If your keycaps are looking worn or even discolored, it may be time for new ones. You can find many replacement keycaps that are compatible with mechanical keyboards. Look for durable keycaps made from PBT plastic, which resist fading and wear.
Extra Tips to Optimize Your Keycap Cleaning Routine
If you want to make keycap cleaning a regular habit, here are some extra tips to keep it efficient:
- Use Compressed Air: Blowing out dust with compressed air before soaking can make cleaning quicker.
- Label Key Placement: Before removing the keycaps, take a picture of your keyboard layout. This will make reattaching them easier.
- Pair Cleaning with System Maintenance: While your keycaps are soaking, take a few minutes to dust and wipe down the keyboard base as well.
FAQs:
1. How often should I clean my mechanical keyboard keycaps?
Cleaning every 1-3 months is recommended for general use. For heavy or daily use, monthly cleaning is ideal. Quick weekly wipes help keep dust and oils at bay.
2. Can I use isopropyl alcohol to clean keycaps?
Yes, but use it sparingly. Isopropyl alcohol is effective for tough stains on keycaps but avoid overuse to prevent damage to the plastic.
3. What tools do I need to clean keycaps?
A keycap puller, mild dish soap, a soft brush, and a microfiber cloth are essential. Optional tools include isopropyl alcohol and a soft toothbrush for stubborn spots.
4. Can I clean my keycaps without removing them?
For surface cleaning, a damp cloth can work. However, for a thorough clean, removing keycaps to soak and scrub is more effective.
5. How do I prevent keycaps from getting dirty?
Washing hands before typing, avoiding food near the keyboard, and using a keyboard cover can help keep keycaps clean longer.
Conclusion:
Cleaning your mechanical keyboard keycaps is simple yet impactful, keeping your setup looking fresh and extending the keycaps’ lifespan. Regular cleaning prevents dirt build-up and improves typing comfort. By following these straightforward steps and maintaining good habits, like keeping hands clean and using a keyboard cover, you can keep your keyboard in excellent shape. A well-maintained keyboard ensures an enjoyable and efficient typing or gaming experience.


