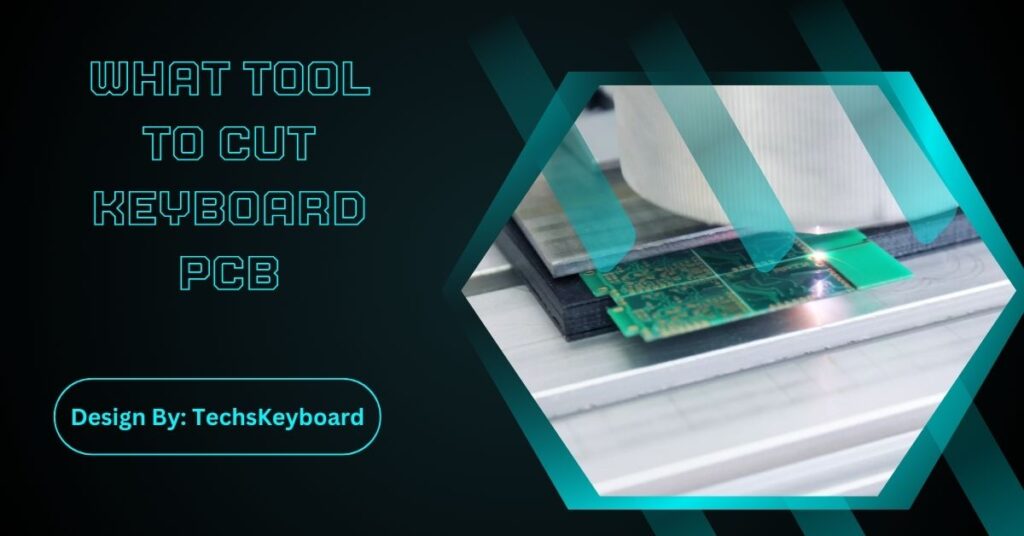
Cutting a keyboard PCB requires tools like rotary tools, guillotine cutters, hacksaws, utility knives, or laser cutters. Choose based on your project needs, prioritize safety, and follow precise instructions for successful modifications.
If you’re into custom mechanical keyboards, you might have come across projects that require modifying or resizing a printed circuit board (PCB). Knowing the right tools and techniques to cut a keyboard PCB can make all the difference in creating a functional and aesthetically pleasing keyboard.
This guide will walk you through the best PCB cutting tools and their pros, cons, and safety tips for a smooth DIY experience.
Whether you’re shortening a PCB for a compact layout or modifying it for a specific case design, choosing the right tools is critical. With these tips, you’ll be ready to tackle your keyboard modification project confidently!
Why Do You Need to Cut a Keyboard PCB?
Cutting a PCB is often necessary in DIY keyboard projects, especially if you’re working on:
- Custom layouts like 40% or 60% keyboards.
- Modifying a keyboard to fit in a unique case.
- Removing unused sections of a PCB for cleaner aesthetics or better ergonomics.
However, PCB cutting requires precision and care. Making even a small mistake could result in a damaged PCB that no longer functions, so selecting the right tools is crucial.
Best Tools To Cut Keyboard PCBs:
Here are some reliable tools for cutting a keyboard PCB. We’ll explain their advantages, disadvantages, and situations where they’re most effective.
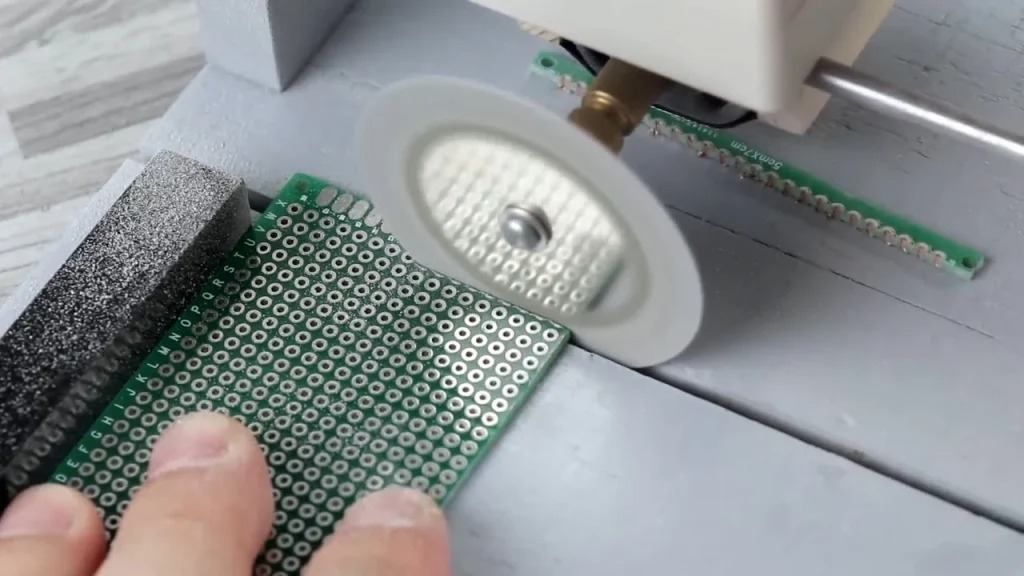
1. Rotary Tool (e.g., Dremel)
A rotary tool is one of the most popular choices for PCB cutting due to its precision and versatility. Equipped with a cutting wheel, it can smoothly cut through the PCB material.
Pros
- Accurate and easy to control for small modifications.
- Works well for intricate or irregular shapes.
- Compact and affordable for hobbyists.
Cons
- Requires a steady hand to avoid uneven cuts.
- Produces dust, requiring proper cleaning afterward.
How to Use It?
- Secure the PCB on a clamp or stable work surface.
- Mark the cut line with a pencil or tape for guidance.
- Attach the cutting wheel and start cutting slowly along the line.
- Use sandpaper to smooth the edges after cutting.
Tip: Wear a mask and goggles while using a rotary tool to protect against dust and small debris.
2. PCB Guillotine Cutter
If you’re looking for a clean, straight cut, a PCB guillotine cutter is a fantastic option. These tools are built specifically for cutting PCBs and can provide professional results.
Pros
- Produces clean, straight edges.
- No dust or debris compared to rotary tools.
- Requires minimal effort; great for beginners.
Cons
- Limited flexibility for cutting irregular shapes.
- Can be expensive for occasional users.
How to Use It?
- Mark the desired cutting area on your PCB.
- Fit the PCB into the cutter and align it with the cut line.
- Apply pressure on the handle to slice through the PCB.
3. Hand Saw or Hacksaw
For a simple and budget-friendly option, a hacksaw can be used to cut PCBs. It’s easy to find and doesn’t require any advanced skills.
Pros
- Affordable and widely available.
- Works for both straight and curved cuts.
Cons
- Less precise than other tools.
- Takes more time and effort to achieve a clean cut.
How to Use It?
- Place the PCB on a sturdy surface.
- Secure the board with clamps to prevent movement.
- Slowly cut along the marked line using the hacksaw.
- Sand or file down the edges for a polished finish.
Tip: Be patient—rushing can result in uneven cuts or broken traces.
4. Utility Knife (for Thin PCBs)
If your PCB is thin (e.g., 1mm or less), a sharp utility knife can be a quick and easy solution.
Pros
- Extremely affordable.
- Portable and easy to use for small projects.
Cons
- Limited to thin PCBs; not suitable for thicker boards.
- Requires multiple passes to cut through completely.
How to Use It?
- Place the PCB on a flat surface.
- Score the cutting line with the utility knife multiple times.
- Snap the PCB along the score line carefully.
Warning: Make sure the knife is sharp and your hand is steady to avoid slips.
5. Laser Cutter
For advanced DIYers or professionals, a laser cutter offers precise and clean cuts without any physical force.
Pros
- High precision for detailed or delicate cuts.
- No risk of damaging nearby components.
Cons
- Requires access to expensive equipment.
- Steeper learning curve compared to manual tools.
How to Use It?
- Create a CAD design or outline for your PCB modification.
- Load the design into the laser cutter’s software.
- Align the PCB and start the cutting process.
Laser cutters are ideal if you frequently work on complex PCB projects or have access to a maker space with such tools.
Also Read: Will Spamming A Keyboard Key Flag Battleye – Complete Guide!
Safety Tips for Cutting Keyboard PCBs:
Working with tools can be risky, so take these precautions to ensure a safe process:
- Wear Protective Gear: Always use safety goggles and a mask to shield your eyes and lungs from debris.
- Secure the PCB: Use clamps or a vice to hold the PCB steady while cutting.
- Work in a Ventilated Area: Cutting PCBs can produce fine dust and fumes, so work in a space with good ventilation.
- Check for Traces and Components: Before cutting, ensure there are no crucial electronic traces or components in the cutting area.
- Practice First: If you’re new to PCB cutting, practice on a scrap board before working on your keyboard PCB.
What’s the Best Tool for You?
The best cut keyboard PCB tool depends on your needs and skill level:
- For small, precise cuts, go with a rotary tool.
- For straight cuts, a PCB guillotine cutter is ideal.
- If you’re on a budget, try a hacksaw or utility knife.
- For professional-grade results, consider a laser cutter.
FAQs:
1. What is the best tool for cutting a keyboard PCB?
The best tool depends on your needs. Rotary tools are versatile, guillotine cutters are precise, while hacksaws and utility knives are affordable for simple projects.
2. Can I use a utility knife to cut a PCB?
Yes, utility knives work well for thin PCBs (1mm or less). Score the surface multiple times and carefully snap along the cut line to prevent damage.
3. Are rotary tools better than guillotine cutters for PCB cutting?
Rotary tools are more versatile for curved or irregular cuts, while guillotine cutters excel at clean, straight edges. Choose based on your cutting requirements and tool availability.
4. Do I need special safety measures for PCB cutting?
Yes, wear goggles, a mask, and work in a ventilated area. Secure the PCB with clamps, and always check for critical traces before cutting.
5. Are laser cutters ideal for keyboard PCB modifications?
Laser cutters provide precise and clean results, making them ideal for complex or professional projects. However, they are expensive and may require advanced knowledge or access to a maker space.
Conclusion:
Cutting a keyboard PCB can be easy and precise with the right tool, whether it’s a rotary tool for versatility, a guillotine cutter for clean cuts, or affordable options like hacksaws. Always prioritize safety by wearing protective gear and securing the PCB. Each tool offers unique features suitable for different needs and experience levels. Choose the right tool, follow step-by-step instructions, and start creating your custom keyboard confidently!